
How To
How to Charge Apple Pencil: A Complete Guide
Apple Pencil is an essential tool for creative professionals, students, and anyone who loves to take digital notes or sketch on their iPads. However, to keep your Apple Pencil working efficiently, knowing how to charge it properly is crucial. In this guide, we will walk you through the steps for charging both generations of the Apple Pencil, provide troubleshooting tips, and answer some common questions.
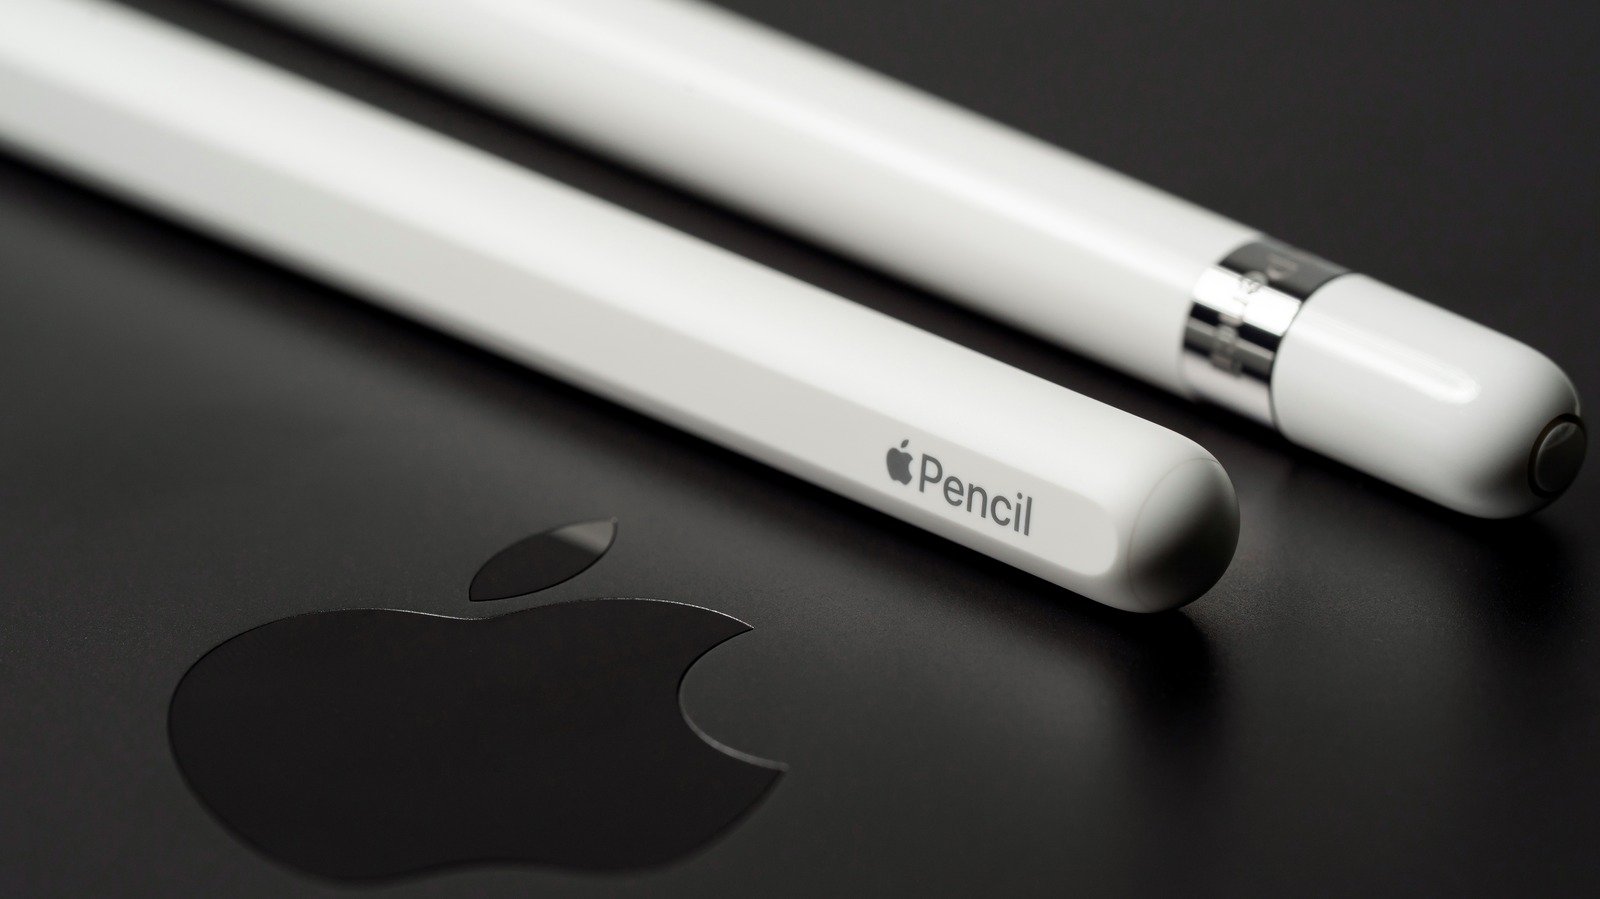
Understanding Apple Pencil Generations
Before learning how to charge Apple Pencil, it’s essential to determine which generation you have. Apple has released two versions:
- Apple Pencil (1st Generation) – Compatible with older iPads with a Lightning port.
- Apple Pencil (2nd Generation) – Designed for newer iPads with a flat edge and magnet-based charging.
Each generation has a different charging method, so let’s explore how to charge Apple Pencil based on the model you own.
How to Charge Apple Pencil (1st Generation)
The 1st generation Apple Pencil has a unique way of charging. Here’s how you can do it:
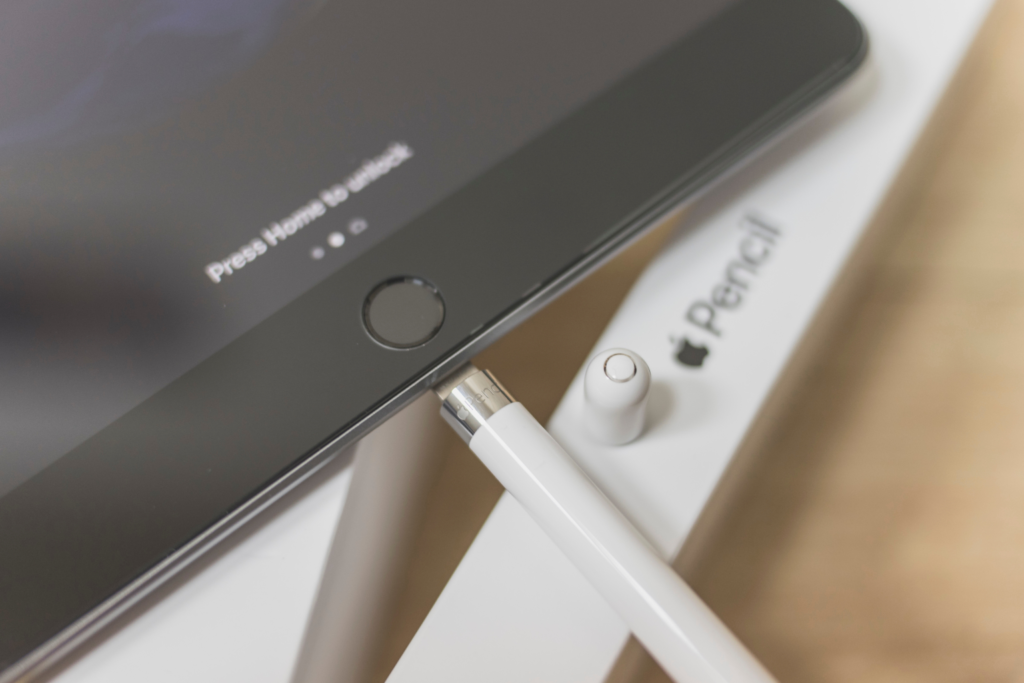
1. Charging via the iPad’s Lightning Port
- Remove the cap from the back of your Apple Pencil to reveal the Lightning connector.
- Insert the Apple Pencil’s Lightning connector into the Lightning port of your iPad.
- Your iPad will detect the Apple Pencil and start charging automatically.
- A notification may appear on the iPad screen indicating the charging status.
- Allow it to charge for about 15-30 minutes to get a significant battery boost.
2. Charging with a Lightning Adapter

Apple provides a Lightning adapter in the box with the 1st generation Apple Pencil, which offers an alternative charging method:
- Plug the Lightning connector of the Apple Pencil into the adapter.
- Connect a Lightning cable (same as the one used to charge your iPad) to the adapter.
- Plug the cable into a power source (wall adapter or computer USB port).
- Let it charge until it reaches full capacity.
Checking the Battery Percentage
Since Apple Pencil (1st Generation) does not have an LED indicator, you can check its battery status on your iPad:
- Open the Widgets section on your iPad by swiping right on the home screen.
- Look for the Batteries widget, which displays the charge level of connected devices.
- If the battery level is low, plug it in for a quick charge.
How to Charge Apple Pencil (2nd Generation)
The 2nd generation Apple Pencil offers a more seamless charging experience compared to the 1st generation.
1. Charging via Magnetic Connection
- Attach the Apple Pencil to the right side of your iPad (where the magnetic connector is located).
- The iPad will recognize the Apple Pencil and start charging automatically.
- A small notification will appear on the screen showing the battery percentage.
- Keep it attached for a few minutes to get a quick charge or around 30 minutes for a full charge.
2. Checking Battery Percentage
To check the battery status of the Apple Pencil (2nd Generation):
- Attach the Apple Pencil to the iPad’s magnetic side.
- The battery percentage will briefly appear on the screen.
- You can also swipe right to the Batteries widget to check the battery level at any time.
How Long Does It Take to Charge Apple Pencil?
The charging time depends on the Apple Pencil generation:
- Apple Pencil (1st Gen): A full charge takes around 30 minutes.
- Apple Pencil (2nd Gen): A full charge also takes about 30 minutes, but 15 seconds of charging gives approximately 30 minutes of usage.
Troubleshooting Charging Issues
If your Apple Pencil isn’t charging properly, try the following solutions:
1. Ensure Proper Connection
- For the 1st Gen Apple Pencil, make sure it’s firmly inserted into the Lightning port or adapter.
- For the 2nd Gen Apple Pencil, ensure it’s correctly aligned with the magnetic charging area on your iPad.
2. Restart Your iPad
A simple restart may resolve software-related issues preventing your Apple Pencil from charging.
3. Clean the Connector
Dust or debris in the Lightning port (1st Gen) or on the iPad’s magnetic connector (2nd Gen) may hinder charging. Use a soft cloth to clean it gently.
4. Check for Software Updates
Outdated iPadOS versions may cause Apple Pencil connectivity and charging issues. Ensure your iPad is running the latest software:
- Go to Settings > General > Software Update.
- If an update is available, install it.
5. Try a Different Charging Method
- Use the Lightning adapter for the 1st Gen Apple Pencil instead of plugging it into the iPad directly.
- Remove and reattach the 2nd Gen Apple Pencil multiple times to reset the connection.
6. Contact Apple Support
If none of the troubleshooting steps work, your Apple Pencil might have a hardware issue. Visit an Apple Store or contact Apple Support for further assistance.
Frequently Asked Questions (FAQs)
1. Can I charge my Apple Pencil with my iPhone?
No, the 1st Gen Apple Pencil can only be charged via an iPad’s Lightning port or adapter. The 2nd Gen Apple Pencil exclusively charges through iPad’s magnetic connector.
2. How do I know when my Apple Pencil is fully charged?
- 1st Gen: Check the Batteries widget on your iPad.
- 2nd Gen: The charge percentage briefly appears when attached to the iPad.
3. Does the Apple Pencil overcharge if left on the iPad?
No, Apple Pencils have built-in protection against overcharging, so leaving them connected will not damage the battery.
4. How often should I charge my Apple Pencil?
If you use it daily, charging it once a day is recommended. However, if you don’t use it frequently, make sure to charge it at least once a week to prevent battery depletion.
Conclusion
Now that you know how to charge Apple Pencil efficiently, keeping it powered up for seamless usage should be hassle-free. Whether you own the 1st Generation Apple Pencil with its Lightning connector or the 2nd Generation Apple Pencil with magnetic charging, following the correct charging methods will ensure longevity and optimal performance. If you ever face issues, use the troubleshooting tips provided to resolve them quickly.
you may also read

The KUKOO Creative Approach to Branding: From Vision to Visuals.

Marie Solimena Joins GIO Gelati to Bring a Taste of Italy to a Wider World

A Comprehensive Guide to Choosing the Right Customer Service Software

5 Habits That Will Help You Build Mental Strength

Sildenafil Tablets: The Go-To Treatment for Erectile Dysfunction

The Art of Fragrance Design: How Jarsking’s Team Elevates Perfume Packaging in 2025

The Popularity of Tungsten Wedding Rings for Men

Capsule Wardrobe for Toddler Boys

Why Workplace Aesthetics Are a Strategic Investment, Not a Luxury

Celebrate Tradition: Europe’s Most Enchanting Fairs and Festivals

How to Create a Successful Crowdfunding Campaign Video

Binary Options Broker Selection Made Easy

Elevate Your Summer Wardrobe with These Stylish Cardigan Looks

Castle App Free Download — Updated 2024 Version

10 Best Fake ID Websites 2025

Private Proxies for Secure and Anonymous Online Activities

How to Write a Check: A Step-by-Step Guide to Mastering This Essential Skill

Harry Bring: A Name Synonymous with Excellence and Innovation

Treatment in the best hospitals abroad

The Rise and Impact of White Rappers in Hip-Hop Culture
The KUKOO Creative Approach to Branding: From Vision to Visuals.
Marie Solimena Joins GIO Gelati to Bring a Taste of Italy to a Wider World
A Comprehensive Guide to Choosing the Right Customer Service Software
5 Habits That Will Help You Build Mental Strength
Sildenafil Tablets: The Go-To Treatment for Erectile Dysfunction
The Art of Fragrance Design: How Jarsking’s Team Elevates Perfume Packaging in 2025
The Popularity of Tungsten Wedding Rings for Men
Capsule Wardrobe for Toddler Boys
Why Workplace Aesthetics Are a Strategic Investment, Not a Luxury