
How to
How To Take A Screenshot On Mac?
Knowing how to take a screenshot of your Mac is useful since you may need to do so to share your thoughts or report an issue. Even though Macs come equipped with everything you need to snap screenshots, the procedure is not particularly simple.
This post provides you with five simple ways to snap a screenshot on a Mac. You’ll discover how to record the screen of your Mac using built-in features, the Touch Bar, keyboard shortcuts, and an external program. You should have a firm grasp on how to quickly and efficiently snap screenshots on a Mac by the time you finish this article.
How can I use keyboard shortcuts to take a screenshot on a Mac?
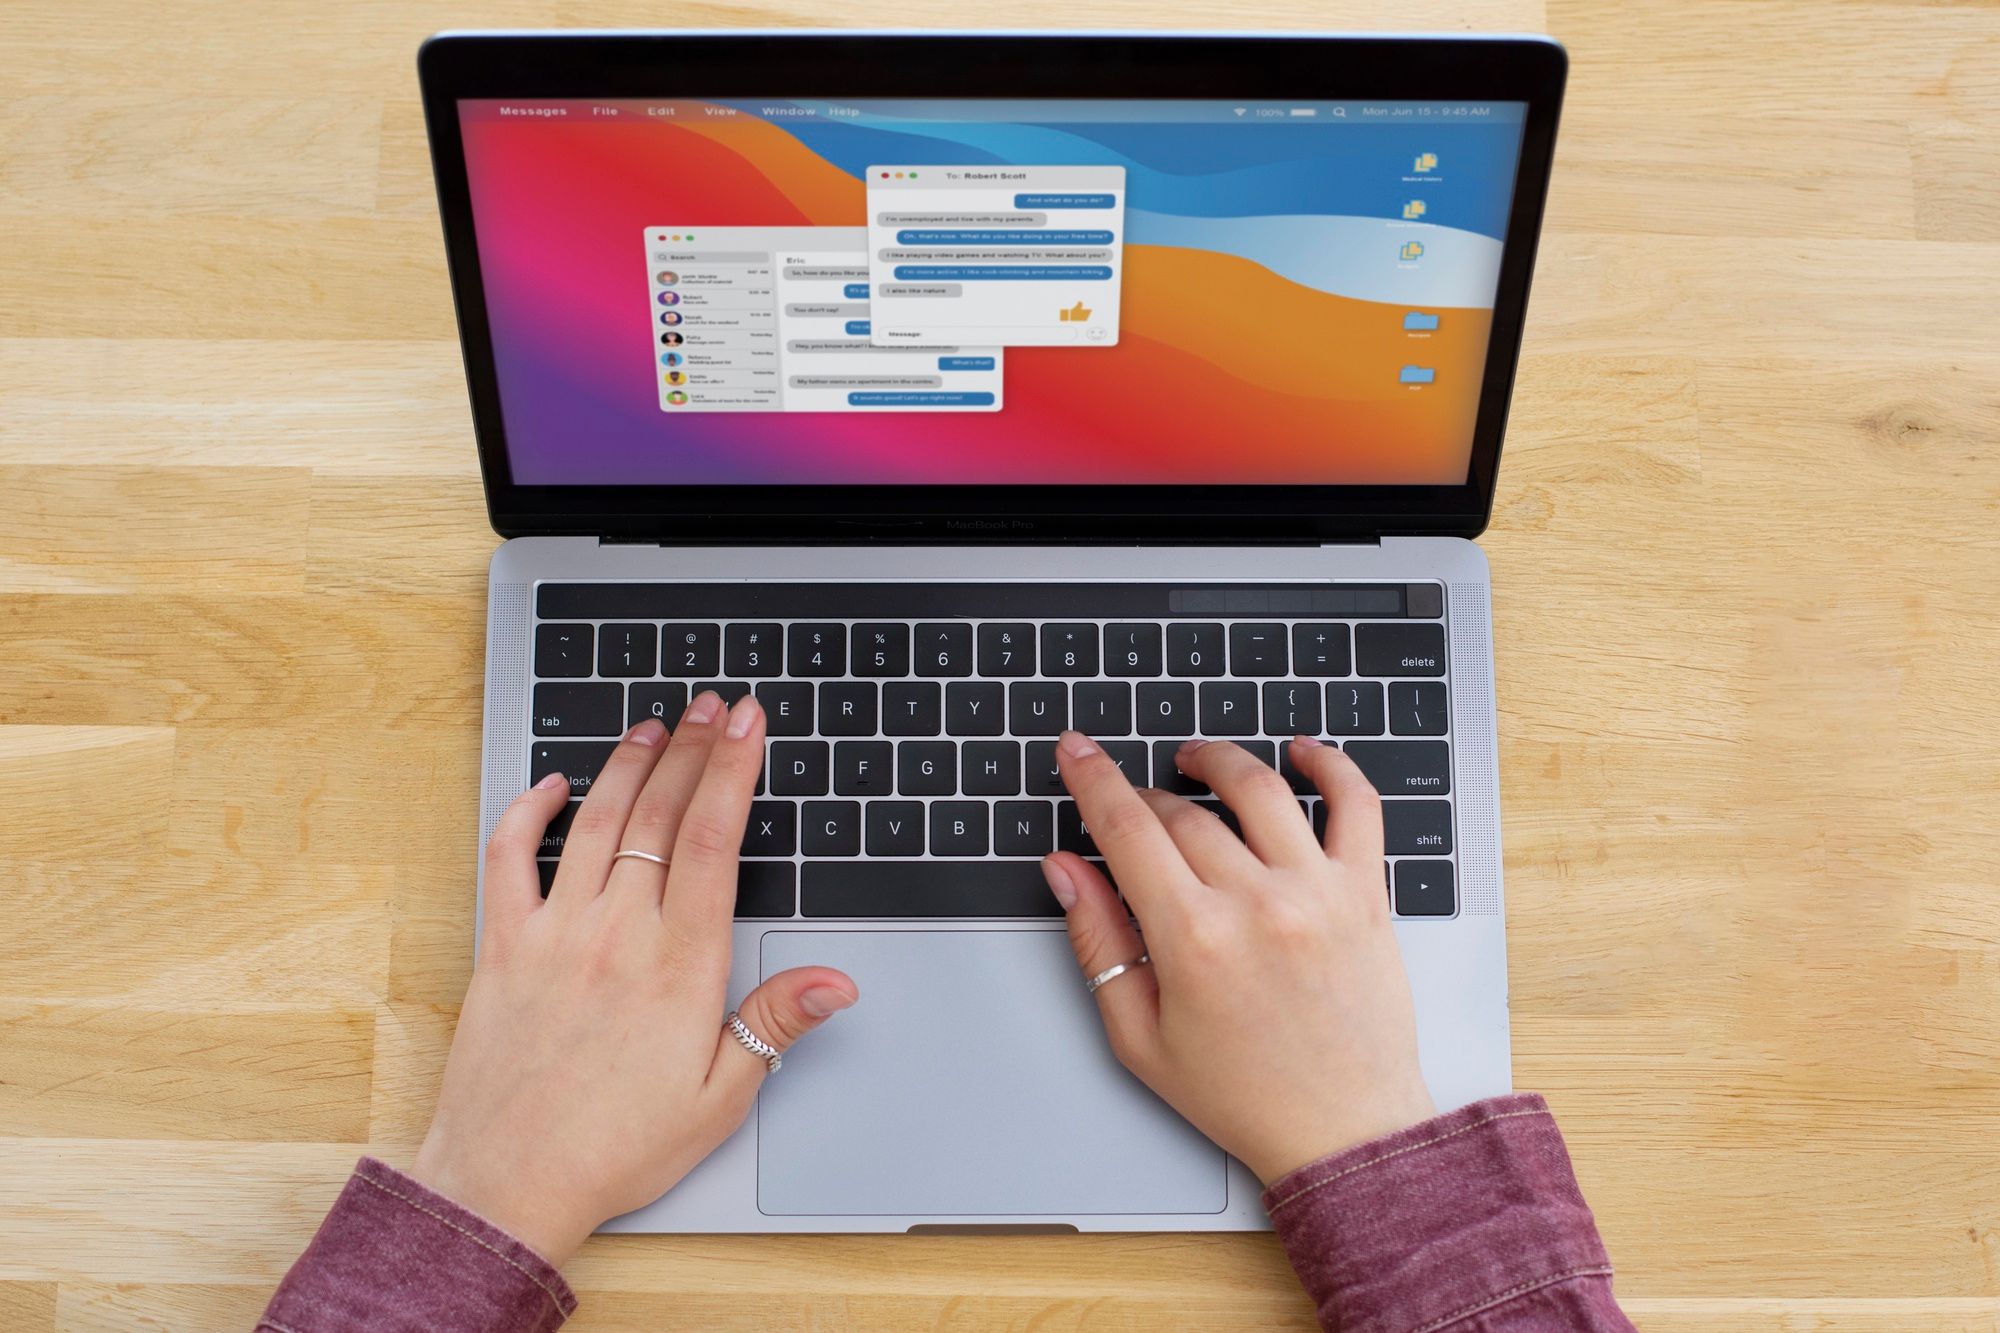
Keyboard shortcuts enable you to snap screenshots from almost any Mac device, including laptops, desktops, all-in-ones, even Mac Minis. The shortcuts allow you to easily capture screen captures of your whole screen, a specific portion of the display, or perhaps just one window.
Capture the entire screen: On a Mac, press and hold the Command, Shift, and three keys simultaneously to record your entire screen. A camera sound will ring, and your desktop will display the screenshot. It’s a quick and simple way for saving what is on your screen.
Take a partial screenshot: When capturing a portion of your screen on a Mac, simultaneously press the Command, Shift, and 4 keys. You can choose the region you wish to capture by using the crosshair that appears when your cursor changes. The photo will be automatically saved to your desktop as soon as you release the mouse.
Capture a specific window: To capture a specific window on your Mac, press Command, Shift, 4, and then the Spacebar keys together. Your cursor will change into a camera icon. Click on the window you want to capture, and the screenshot will be saved to your desktop. It’s a quick way to focus on a single window for sharing or saving.
How to take screenshots using the Touch Bar?
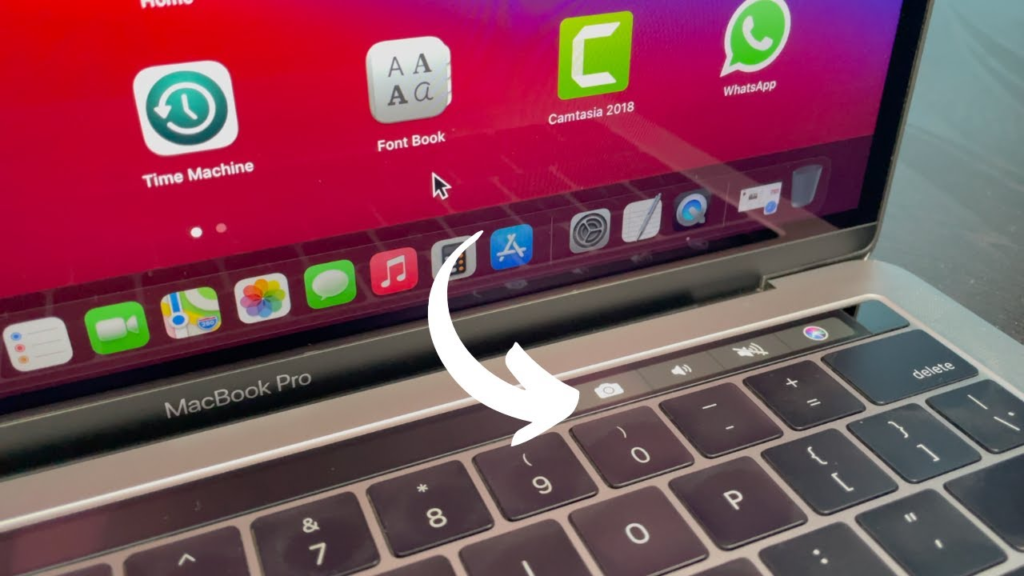
Taking screenshots with a Macbook Pro with Touch Bar is simple. With just one press, you can take a snapshot of anything on your Mac’s screen by adding the capability to your Touch Bar.
Step 1: Open the “System Preferences” menu, locate the “Control Strip” section, and choose the “Screenshot” option.
Step 2: Attach the “Screenshot” option to your Touch Bar using the “Personalize the Control Strip” button.
Step 3: You can take a picture of a specific area of the screen, a particular window, or the whole display by tapping the “Screenshot” option on the Touch Bar. You’ll save the screenshot to your desktop.
How to take a screenshot on Mac with the built-in screenshot menu?
Mojave of macOS and later versions have an integrated screenshot menu. It enables users to rapidly record their Mac’s screen and capture screenshots. This implies that users of Mojave, which Catalina, as the Big Sur region, or Monterey, can quickly reach the integrated screenshot menu and begin taking screenshots. Simply follow the instructions below.
Step 1: To access the screenshot menu, press the keyboard shortcut “Command + Shift + 5.”
Step 2: The bottom of your screen will display the screen shot menu. To take a screenshot on a Mac, you can choose to capture the whole screen, a particular window, or a specified region.
Step 3: Select the screenshot-taking option that you wish to utilize. The pointer will turn into a crosshair if you choose a particular window or region. You can select the area that you would like to capture by clicking and dragging the crosshair.
Step 4: Let go of the mouse button after you’ve chosen the region you wish to capture. After it is taken, a brief period of time will see the screenshot display at the bottom right of the screen. It can be clicked to make additional edits or left alone to be saved on your desktop.
How to screenshot on Mac with Preview
Previewing is a built-in Mac application that lets you see and work with a lot of different kinds of files, such as documents, PDFs, and photos. It is also a flexible tool that can assist you in taking screenshots.
Similar to the screenshot menu and keyboard shortcuts, Preview enables you to take screenshots of the whole screen, a chosen region, or a single window. The distinction is that you can name the file in the Preview before exporting it to the place of your choice.
Here’s how to use Preview to take a screenshot on a Mac.
First, open the portion of the window or display you wish to take a picture of.
Step 2: Open the File menu of the Preview software on your Mac, click Take Screenshot, and select from Selection, which is On The window or from Entire Screen based on your preferences.
Step 3: After taking the screenshot, users may modify it by editing it, changing the contrast and color, or adding comments. Navigate through the “File” as a menu and choose “Save” to save your modified screenshot.
How to screenshot on Mac with Awesome Screenshot & Recorder
Let’s say you require screenshot capture and annotating heavily. Then, we recommend using Awesome Screenshot & Recorder, a feature-rich and multifunctional program that lets you record your screen, edit photos and videos, save data to the cloud, and share anything instantaneously via links.
Awesome Screenshot & Recorder is an internet browser extension that works with Firefox, Chrome, Edge, and Safari, in contrast to other standalone programs. This implies that any one of the four installed browsers may be used on computers running both Mac and Windows.
Important characteristics
- Allows you to snap a screenshot of any part of the screen, a window, a scrolling webpage, or any other chosen region.
- Enables you to record the screen using a webcam or audio.
- Offers an in-built video editor or fast video editing; offers a range of annotation options that allow you to customize the screenshot.
- Allows you to store the screenshots locally or upload them to cloud storage.
- Facilitates rapid and effortless file sharing.
FAQ’S
Is there a snipping tool on Mac?
Indeed, the Mac comes with a snipping tool that lets you grab a picture of the whole screen, a certain region, or a particular window. You may rapidly activate the snipping tool by pressing “Command + Shift + 5.”
Where does a screenshot go on Mac?
By default, snapshots have been saved to the Mac desktop. Mac will automatically save the photograph to the desktop regardless of whether you use the shortcuts “Command + Shift + 3,” “Command + Shift + 4,” or “Command + Shift + 5” to capture a picture.
You can use the keyboard shortcuts “Command + Shift + 5” to access the “Options” menu, where you can then choose a different location from the “Save to” list.
How to customize the keyboard shortcuts of the screenshot?
Mac lets you personalize the keyboard shortcuts for screenshots. Here are the measures you can take to accomplish that.
Step 1: Locate the screenshot of the shortcut you wish to change by going to “System Preference” > “Keyboard” > “Shortcuts” > “Screenshots,” and afterwards double-click on it.
Step 2: The preferred keyboard combination will show in place of the previous shortcut when you press and hold it.
Conclusion
In general, there are two ways to snap screenshots on a Mac. While one makes use of the built-in tools, the other makes use of an external screenshot application. For an easy and fast way to take screenshots, you can use screenshot menus or shortcuts. Try Awesome Screenshot & Recorder, which has a ton of annotation tools and screenshot settings, if you want to take a screenshot and alter it later.


Instagram Story Viewer: Shaping Social Media!
Could you think of Instagram without stories? Even though Instagram Stories were introduced not so long ago, in 2016, they...


Top Benefits of Using a Phone Appending Platform for Batch Data Updates
In the world of data-driven marketing, having access to accurate and current contact information is essential for successful customer outreach....


3 Tips for Dressing Perfectly for Special Occasions
Dressing for special occasions can sometimes be a stressful and overwhelming process, especially for women. Whether you’re attending a wedding,...


Maximise Your Hunting Success with Dive Bomb Industries Decoys
When it comes to hunting, there’s no such thing as too much preparation. Hunters understand that the right equipment can...


Castle App Free Download — Updated 2024 Version
What is Castle App? Castle App, a stream app developed for streaming media content, makes entertainment effortless by giving clients...


How to get a duplicate RC book for your vehicle: A step-by-step guide
If you have lost or damaged your vehicle’s registration certificate, you must be tense and under stress. But getting a...


Enhancing Property Value Through Professional Builders Cleaning Services in the UK
Construction and renovation projects make a ton of residue, garbage, and soil, passing on a requirement for proficient cleaning to...


Saturn in Sidereal Pisces-March 28,2024 to February 21st 2028 by Jade Luna
I really wanted a female president governing this cycle but the chart of America would choose the hardest path, not...


Top 5 Super Clone Rolex for Women
Super clone Rolex watches are incredibly detailed knock-offs of popular Rolex models, crafted to look and feel just like the...


Transforming Dreams into Reality: A Success Story of Purchase Amazon Seller Account
Purchase Amazon Seller Account: In the fast-paced world of e-commerce, many aspiring entrepreneurs dream of starting their own business. However,...